
 Send Your Inquiry
Enhance Your Exterior Walls with Textured Wall Putty
Textured Wall Putty
What is it?
Textured wall putty is usually used on exterior walls. Its basic function is similar to regular exterior paint, but with added texture. Here’s how it’s applied.
First, the putty is rolled onto the wall using a standard roller to make a flat surface of a certain thickness.
Before it dries completely (but not while still wet), a special textured roller is used to create a rough, uneven pattern on the surface. This pattern looks random up close, but from a distance, it appears organized and uniform.

What does textured wall putty do?
Textured wall putty is something in between regular putty and textured paint. It gives a nice decorative look like textured paint, but it does not have the same flexibility. Because of this, it usually needs a topcoat of high-quality paint to finish the job and protect the wall.
The texture is not made by spraying (like in multilayer coatings) but by rolling with a special roller that pulls up small, pointed bumps. These bumps are formed thanks to the moisture in the putty and how it moves slightly before it dries. This gives the wall a pleasant, artistic finish.

How is textured wall putty different from other coatings?
Multilayer coatings usually have flat, even spots. In contrast, textured wall putty has more pointed, spiky bumps that vary in size and shape.It makes the surface more dynamic and interesting. It combines both fine detail and full coverage, flowing look and solid feel.

Why use a topcoat?
Textured wall putty often contains cement, which makes the surface rough and strong. While this helps improve durability, the putty alone doesn’t offer enough protection against weather, dirt, and aging. That’s why a top layer of high-performance paint (like a flexible, glossy silicone-acrylic paint that resists stains) is needed to complete the wall surface.
Example of Textured Wall Putty Formula
Textured wall putty is mainly used on exterior walls, where it must have good water resistance, strong adhesion, and high physical strength.
To meet these needs, it is better to use powder-based products that combine cement and redispersible polymer powder. Together, they create a hybrid film that mixes both organic and inorganic materials for better durability.
Below is a sample formula for making powder-based textured wall putty.
| Name of Raw Material | Function and Role | Quantity (Mass) / % |
| Ordinary Portland Cement or White Cement | Inorganic Film – forming Substance | 45.0 |
| VAE – type or Polyacrylate – type Latex Powder | Organic Film – forming Substance | 3.5 |
| 200 – mesh Heavy Calcium Carbonate | Filler | 29.3 |
| 325 – mesh Quartz Powder | Filler | 15.0 |
| Rutile – type Titanium Dioxide | Pigment | 5.0 |
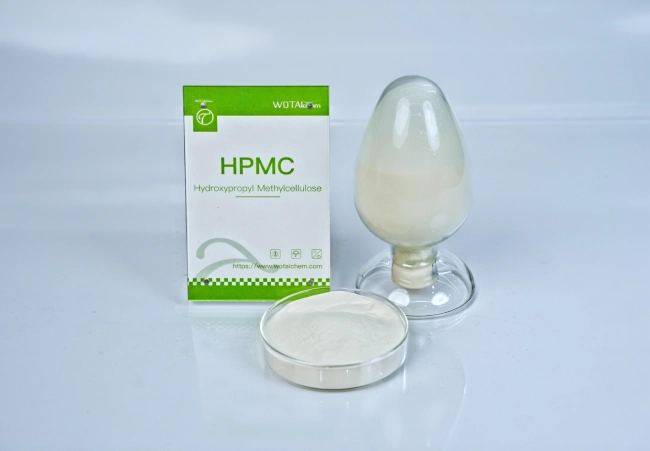
| Hydroxypropyl Methylcellulose | Thickening and Water – retaining Agent | 0.5 |
| Low – Viscosity Micro – fine Polyvinyl Alcohol Powder | Thixotropy Regulator | 0.3 – 0.7 |
| Defoamer | Defoaming | 0.2 |
Explanation of the Formula
Formula Characteristics
The main focus in the formula for textured wall putty is on adjusting its flow behavior (rheology). This is done by selecting the right grade of hydroxypropyl methylcellulose (HPMC) for the right thickness and flow, and mixing it with fine low-viscosity polyvinyl alcohol (PVA) powder. Together, these ingredients help the putty achieve the right texture and smooth application during the special roller process.
Because the surface will later be coated with a topcoat (clear or colored), the putty layer must be strong and firm, so that the final paint does not peel off.
- If a clear topcoat is used, it’s best to use acrylic latex powder for better transparency and weather resistance.
- If a shiny (glossy) paint is used as the topcoat, VAE (vinyl acetate ethylene) latex powder is a more cost-effective option.
When applying a clear coat, you should also add rutile titanium dioxide (TiO₂) or other weather-resistant color pigments into the putty for brightness and UV resistance.
If the topcoat is not transparent, titanium dioxide is not needed—but you can still add pigments to match the color scheme.
Application of Textured Wall Putty
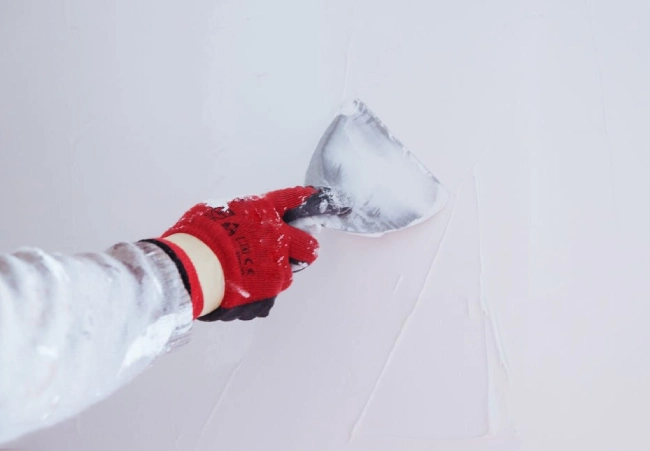
This type of putty is applied on walls using a special textured roller, after a base coat of normal paint is applied. Depending on the desired design, the surface may be pressed flat or left rough, and finally finished with a topcoat. Below are the key steps and tips:

Surface Preparation
Textured wall putty is considered a thick coating, unlike thin coatings which require a perfectly smooth wall. Here, you only need to level the major bumps and dents, not perfect smoothness.
How to Apply Textured Wall Putty
Step-by-step process:
1️⃣ Apply two coats of primer/sealer to the wall.
2️⃣ Apply 1–2 layers of flat base paint using a roller.
3️⃣ Apply the textured wall putty using a roller.
4️⃣ Create putty wall texture using a patterned or sponge roller (before it dries).
5️⃣ Depending on wall putty texture design:
- Press flat if required.
- Apply a final topcoat (clear or colored).
Key Application Tips:
✅ Wait 24 hours for the base layer to dry.
✅ Use a wool roller to apply 2 coats of alkali-resistant primer, waiting 2 hours between coats.
✅ Once the primer is dry, roll on the paint layer evenly.
✅ When dry, apply textured wall putty with a roller.
✅ Before the textured layer dries, use a patterned roller to create the desired texture.
✅ Once dry, press flat (if required), then apply the topcoat.
Things to Watch Out For
1️⃣ Keep your rolling speed and pressure even, so the texture (bumps) look neat and uniform. Ideally, two people should work together: one applies putty, the other creates texture.
2️⃣ If flattening is needed, wait until the surface is semi-dry. Use a hard rubber roller or metal trowel. To prevent sticking, dip tools in silicone oil or solvent like thinner.
3️⃣ For exterior walls, apply a flexible latex paint as the topcoat. For interior walls, you can either use the same flexible paint or a clear protective topcoat, applied by roller or spray after drying.
4️⃣ Other conditions like temperature, humidity, and surface prep are similar to any normal synthetic resin-based exterior paint.

Posted by Isabel leave words
Hi, I've been in this industry for five years. I hope you enjoyed my blog. Welcome to leave a comment down below.
Leave a Reply